
When you first bring home any new kitchen appliance, the initial setup and preparation are very important for ensuring optimal performance. This is especially true for your Blackstone Air Fryer. In this post, we’ll give you a comprehensive guide to get you started on using it the right way.
Blackstone air fryer instructions
Step 1: Unboxing the appliance
The excitement that comes with a new kitchen gadget often has us rushing through the unboxing process. However, slow down and take a moment to appreciate what’s in front of you.
Open the box carefully and make sure you handle each component delicately.
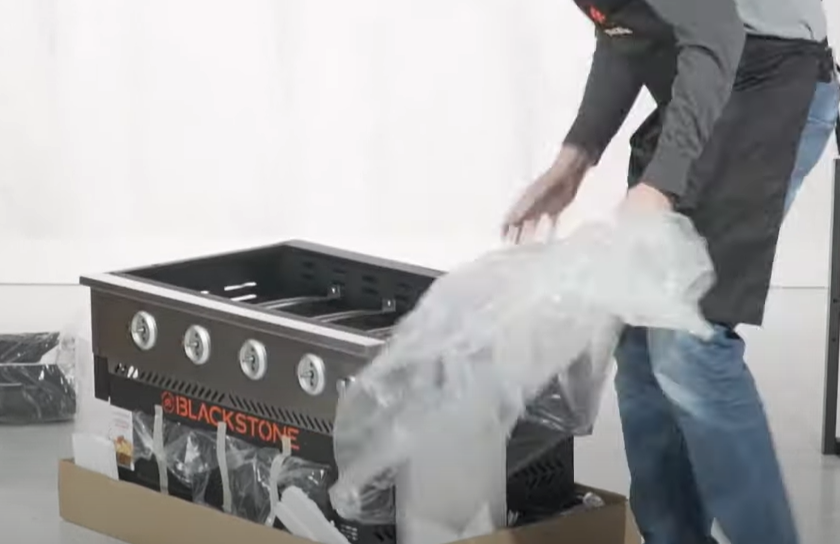
Remove each part and cross-reference with the list provided in the manual. Check for the main unit, cooking basket, any trays, and extra accessories like spatulas or tongs if included.
Laying out all the parts helps you become familiar with what you’ll be dealing with. It’s important to ensure that no parts are missing or damaged. If you find any discrepancies or defects, contact customer service right away.
Handling this at the onset saves you from potential frustration and ineffective cooking experiences later. It’s a first but crucial step to start your air frying journey on the right note.
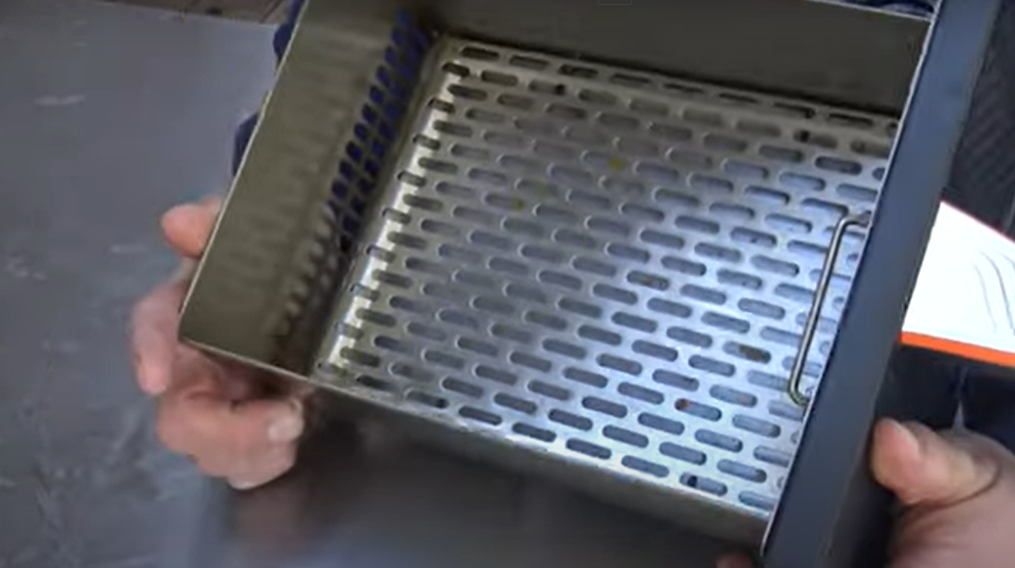
Step 2: A Thorough Cleaning
Fresh from the factory, your Blackstone Air Fryer isn’t quite ready for cooking.
Manufacturing oils, dust, or residues may linger on the cooking basket, trays, or even the main unit. Take apart all the removable components and wash them carefully in warm, soapy water. Use a soft cloth or sponge to gently scrub the surfaces.

While you might think that a quick rinse will do, take the time to thoroughly clean each piece. Rinse off the soap with warm water and dry them with a towel.
A meticulous cleaning routine initially sets the stage for a more hygienic cooking process down the line. If your air fryer model has a detachable cooking chamber, extend the same cleaning courtesy to it as well.
Step 3: Electrical Safety
Before you plug in your new Blackstone Air Fryer, take a moment to consider electrical safety. Check the voltage requirements specified in the instruction manual. Most household outlets should be compatible, but it’s essential to verify.
Improper voltage can lead not just to inefficient cooking but can also be a potential fire hazard. If needed, consider getting a voltage adapter. However, make sure the adapter can handle the wattage your air fryer needs.
Paying attention to these electrical specifications may seem tedious, but it’s crucial for both your safety and the long-term performance of your air fryer.
Step 4: Assembling set up
Assembling products like the Blackstone Air Fryer can be an involved process, and while the exact steps may vary depending on the specific model and version of the Blackstone Air Fryer you have, here’s a general step-by-step guide to help you through the process.
- Setup Base:
- Position the base on a flat and stable surface.
- If there are any adjustable feet or leveling components, ensure they are properly adjusted.
- Assemble Legs (if applicable):
- Attach the legs or stand to the base, ensuring they’re tightly secured. Use any screws, nuts, or bolts provided.
- Install Main Unit:
- Place the main air fryer unit onto the base or legs.
- Secure it using provided screws or fastening mechanisms.
- Drawer Installation:
- Slide the air fryer drawer or basket into the main unit. Ensure it fits snugly and slides in and out smoothly.
- If there’s a handle that needs to be attached to the drawer, fix it using the provided screws.
- Control Panel:
- Some models come with a separate control panel. If yours does, attach it to the main unit in the designated slot or area.
- Connect any necessary wires or connectors as indicated in the manual.
- Air Fryer Lid (if applicable):
- Position the lid onto the main unit.
- Secure it using hinges, screws, or any other fastening mechanism provided.
- Attach Additional Components:
- Depending on your model, there might be additional accessories like a warming rack, trays, or additional cooking compartments.
- Install these according to the manual’s instructions.
Additional Tips:
- Keep the manual handy as it will have diagrams and specific instructions for your model.
- Take your time, don’t rush, and ensure each step is completed accurately.
- If you encounter any missing components or issues, contact the manufacturer or place of purchase for support.
Step 5: The Initial Run
Once you’ve assembled your thoroughly-cleaned air fryer, it’s time for the initial run or ‘burn-in’ process. This step is essential for removing any remaining factory smells or chemical residues that might affect your cooking.
Plug in the air fryer and set it to its highest temperature setting, typically around 400°F, and let it run empty for 20 minutes.

You may notice a plastic-like or chemical smell during this initial run. This is entirely normal and should dissipate after the process. Once completed, let the air fryer cool down before you proceed with any actual cooking. This step may seem like a time-consuming formality, but it’s critical for ensuring that your appliance is both safe and effective for cooking.
Step 6: Familiarize Yourself with Controls
Before diving into recipes, take some time to understand your air fryer’s controls and settings. This could range from simple dials to a more advanced digital interface, depending on your model.
Learn how to set the cooking modes, adjust the temperature, and use the timer. Spending this time with your machine might feel like overkill, but understanding its quirks and features can make your cooking sessions more intuitive and less stressful.
Don’t skip the user manual; it often has tips and shortcuts that you might not figure out right away. The more you know about what each button or dial does, the more confidently you can tackle any recipe that comes your way.
Tips to follow when using your Blackstone Air Fryer
Now that you’ve made sure it’s correctly set up, let’s share with you some tips to help you always get the best of your air fryer.
Tip 1: Don’t Overcrowd the Basket
The key to air frying is efficient hot air circulation around the food. When you overcrowd the basket, you essentially create a roadblock for that hot air, leading to uneven cooking. To avoid this, always give your food items plenty of space.
If you’re cooking something like chicken wings or fries, make sure they’re in a single layer with some room around each piece. It may mean cooking in batches, but the payoff is crispy, evenly-cooked food every time.
Tip 2: Shake or Flip for Even Cooking
While air fryers are relatively hands-off, they still benefit from a bit of attention. For foods that are prone to sticking or require even browning—think chicken tenders or homemade fries—a mid-cook shake or flip can make all the difference.
Use a pair of tongs to carefully turn over larger items, or simply give the basket a good shake for smaller items. This ensures that hot air reaches all surfaces of the food, leading to a uniformly cooked end result.
Tip 3: The Right Oil Matters
Although one of the primary benefits of an air fryer is that it requires less oil, a little can go a long way. A light spritz of oil can not only improve flavor but also contribute to a much-desired crispy texture. Opt for oils with higher smoke points like avocado or grapeseed oil. You can use a simple kitchen spray bottle to lightly coat the food, avoiding any pooling of oil at the bottom of the basket.
Tip 4: Preheat for Peak Performance
While many people skip preheating their air fryer, it’s a step that can actually improve your cooking results. Preheating ensures that the cooking chamber is at the desired temperature from the get-go, similar to preheating an oven.
This is particularly helpful for foods that need to be crispy or have a crust, as it helps to start the cooking process immediately, leading to better texture. A typical preheat time is around 3-5 minutes.
Cleaning and Maintenance
Maintaining your air fryer is just as important as using it correctly. Once you’re done cooking and the unit has cooled down, take a few moments to clean it properly.
Most parts are dishwasher safe, but a gentle hand wash is recommended for the cooking basket to maintain its non-stick surface.
Remove the basket and wash it with warm, soapy water, ensuring all food residues are gone. Dry it thoroughly before placing it back into the unit. This not only extends the life of your appliance but also ensures that future meals won’t be tainted by residues or lingering flavors.
Conclusion
Today’s guide has helped you to understand the instructions you have to follow as you plan to start using your new Blackstone air fryer. With this, you’re ready to start making great dishes with your air fryer without any problems.